
Today I’m spilling my tips + tricks on how to create the perfect flat lay.
It’s mayyyyybe a little blogger/photographer directed. OR it’s also for anyone looking to step up their IG game. Cause we all know Instagram is life. JK calm down.
Numero uno, it takes practice and TONS of playing around. BUT I can lay out {ha..ha} some pretty easy guidelines for you to follow to create the perfect flat lay.
Wait what is a flat lay?
A flat lay is a photography technique used to showcase products or tell a story. Basically it’s rearranging objects or materials on a surface in a way that captivates your followers/audience.
I do a lot of flat lays. Like a LOT. And I’ve learned a few things. So let’s get learning.
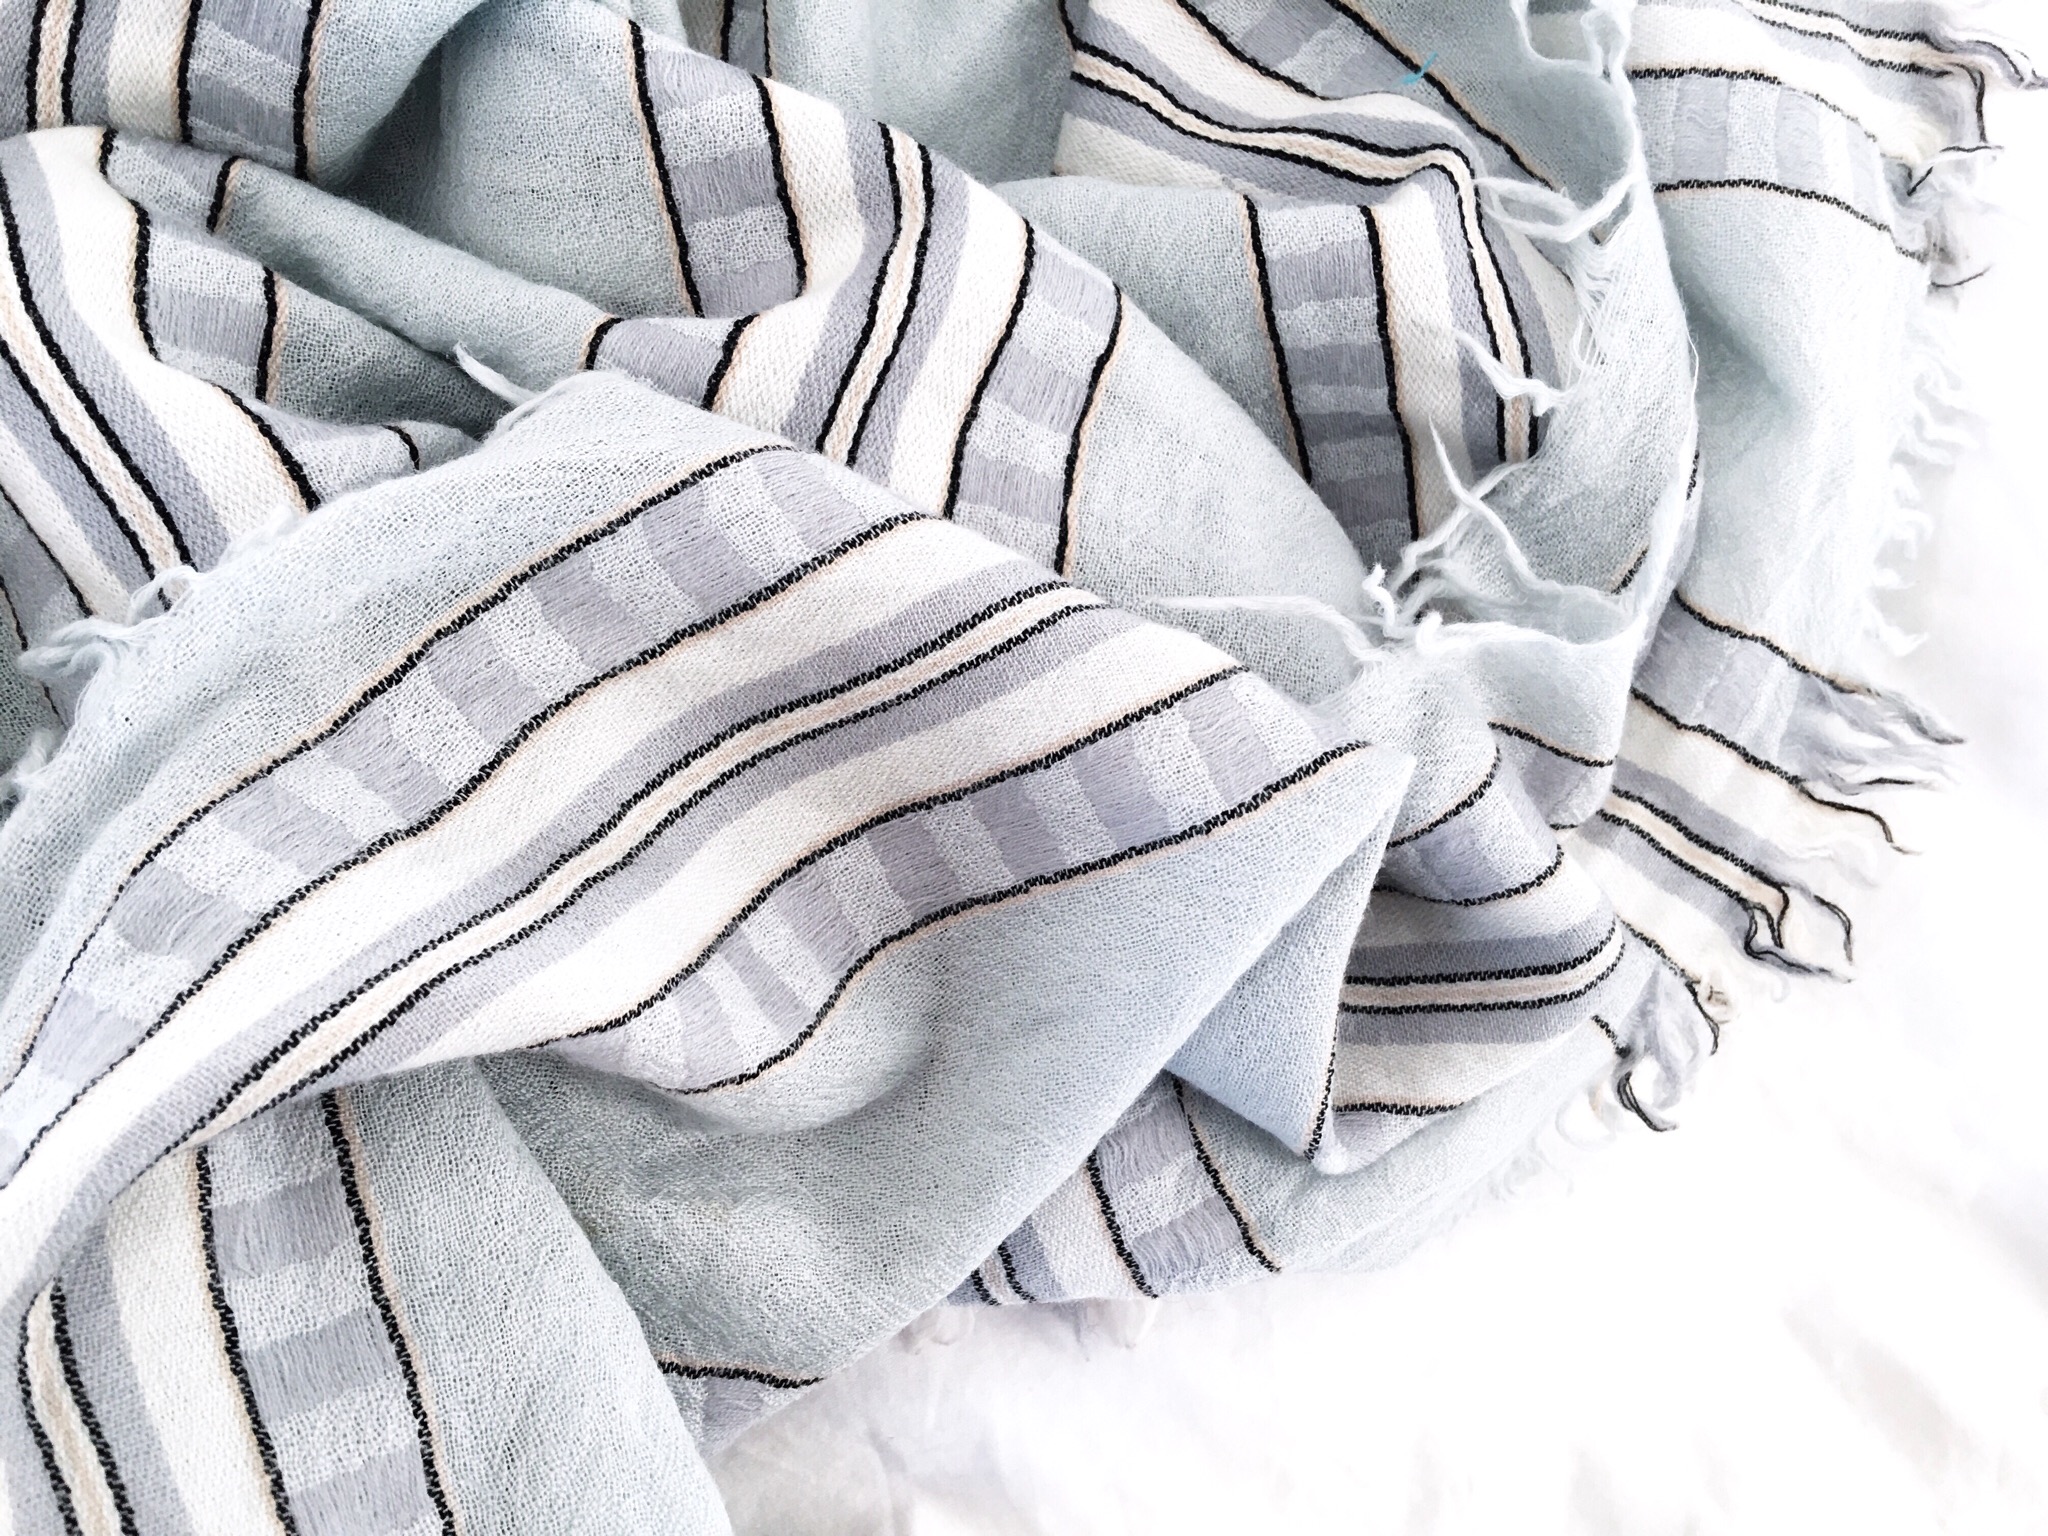
1.) USE TEXTURES
MY NUMBER ONE TIP. Use different textures. Kitchen counter, duvet cover, fur blanket, coffee table. Everything is fair game. Also, go out and buy inexpensive textures that will work. I use so many blankets. Buy coloured paper. Go to Homesense and stock up from their card/party supplies section. Get creative.
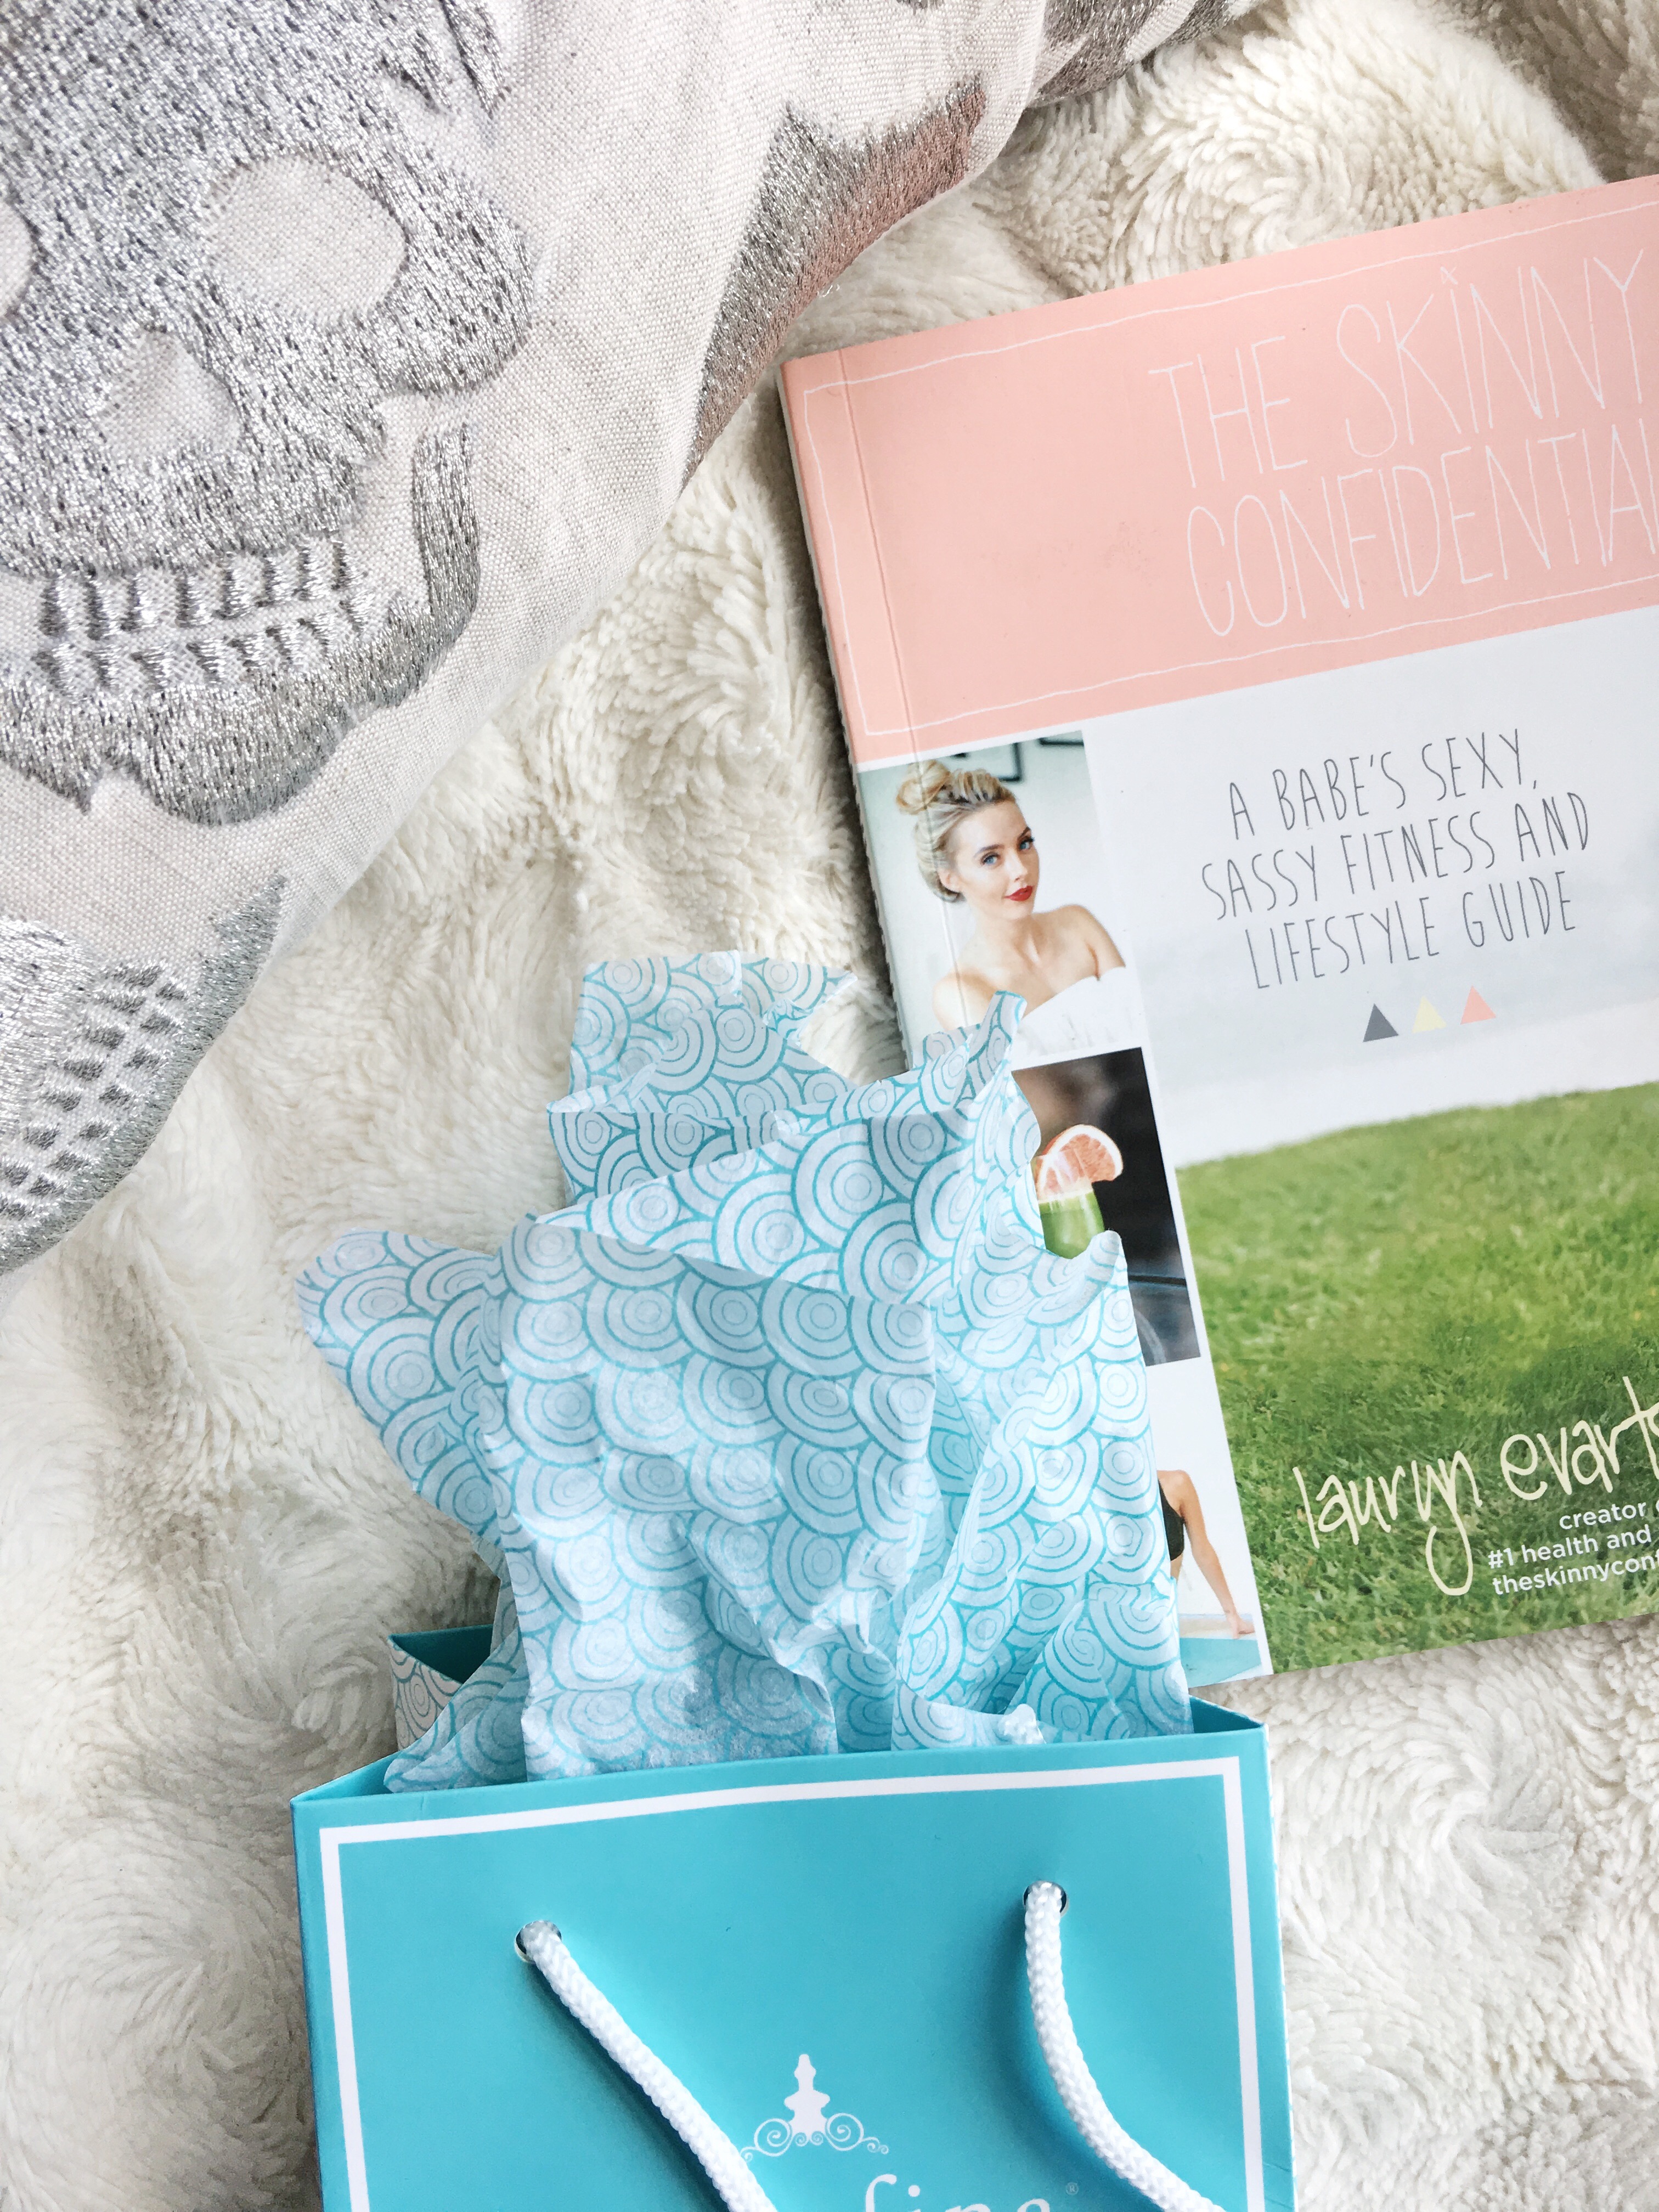
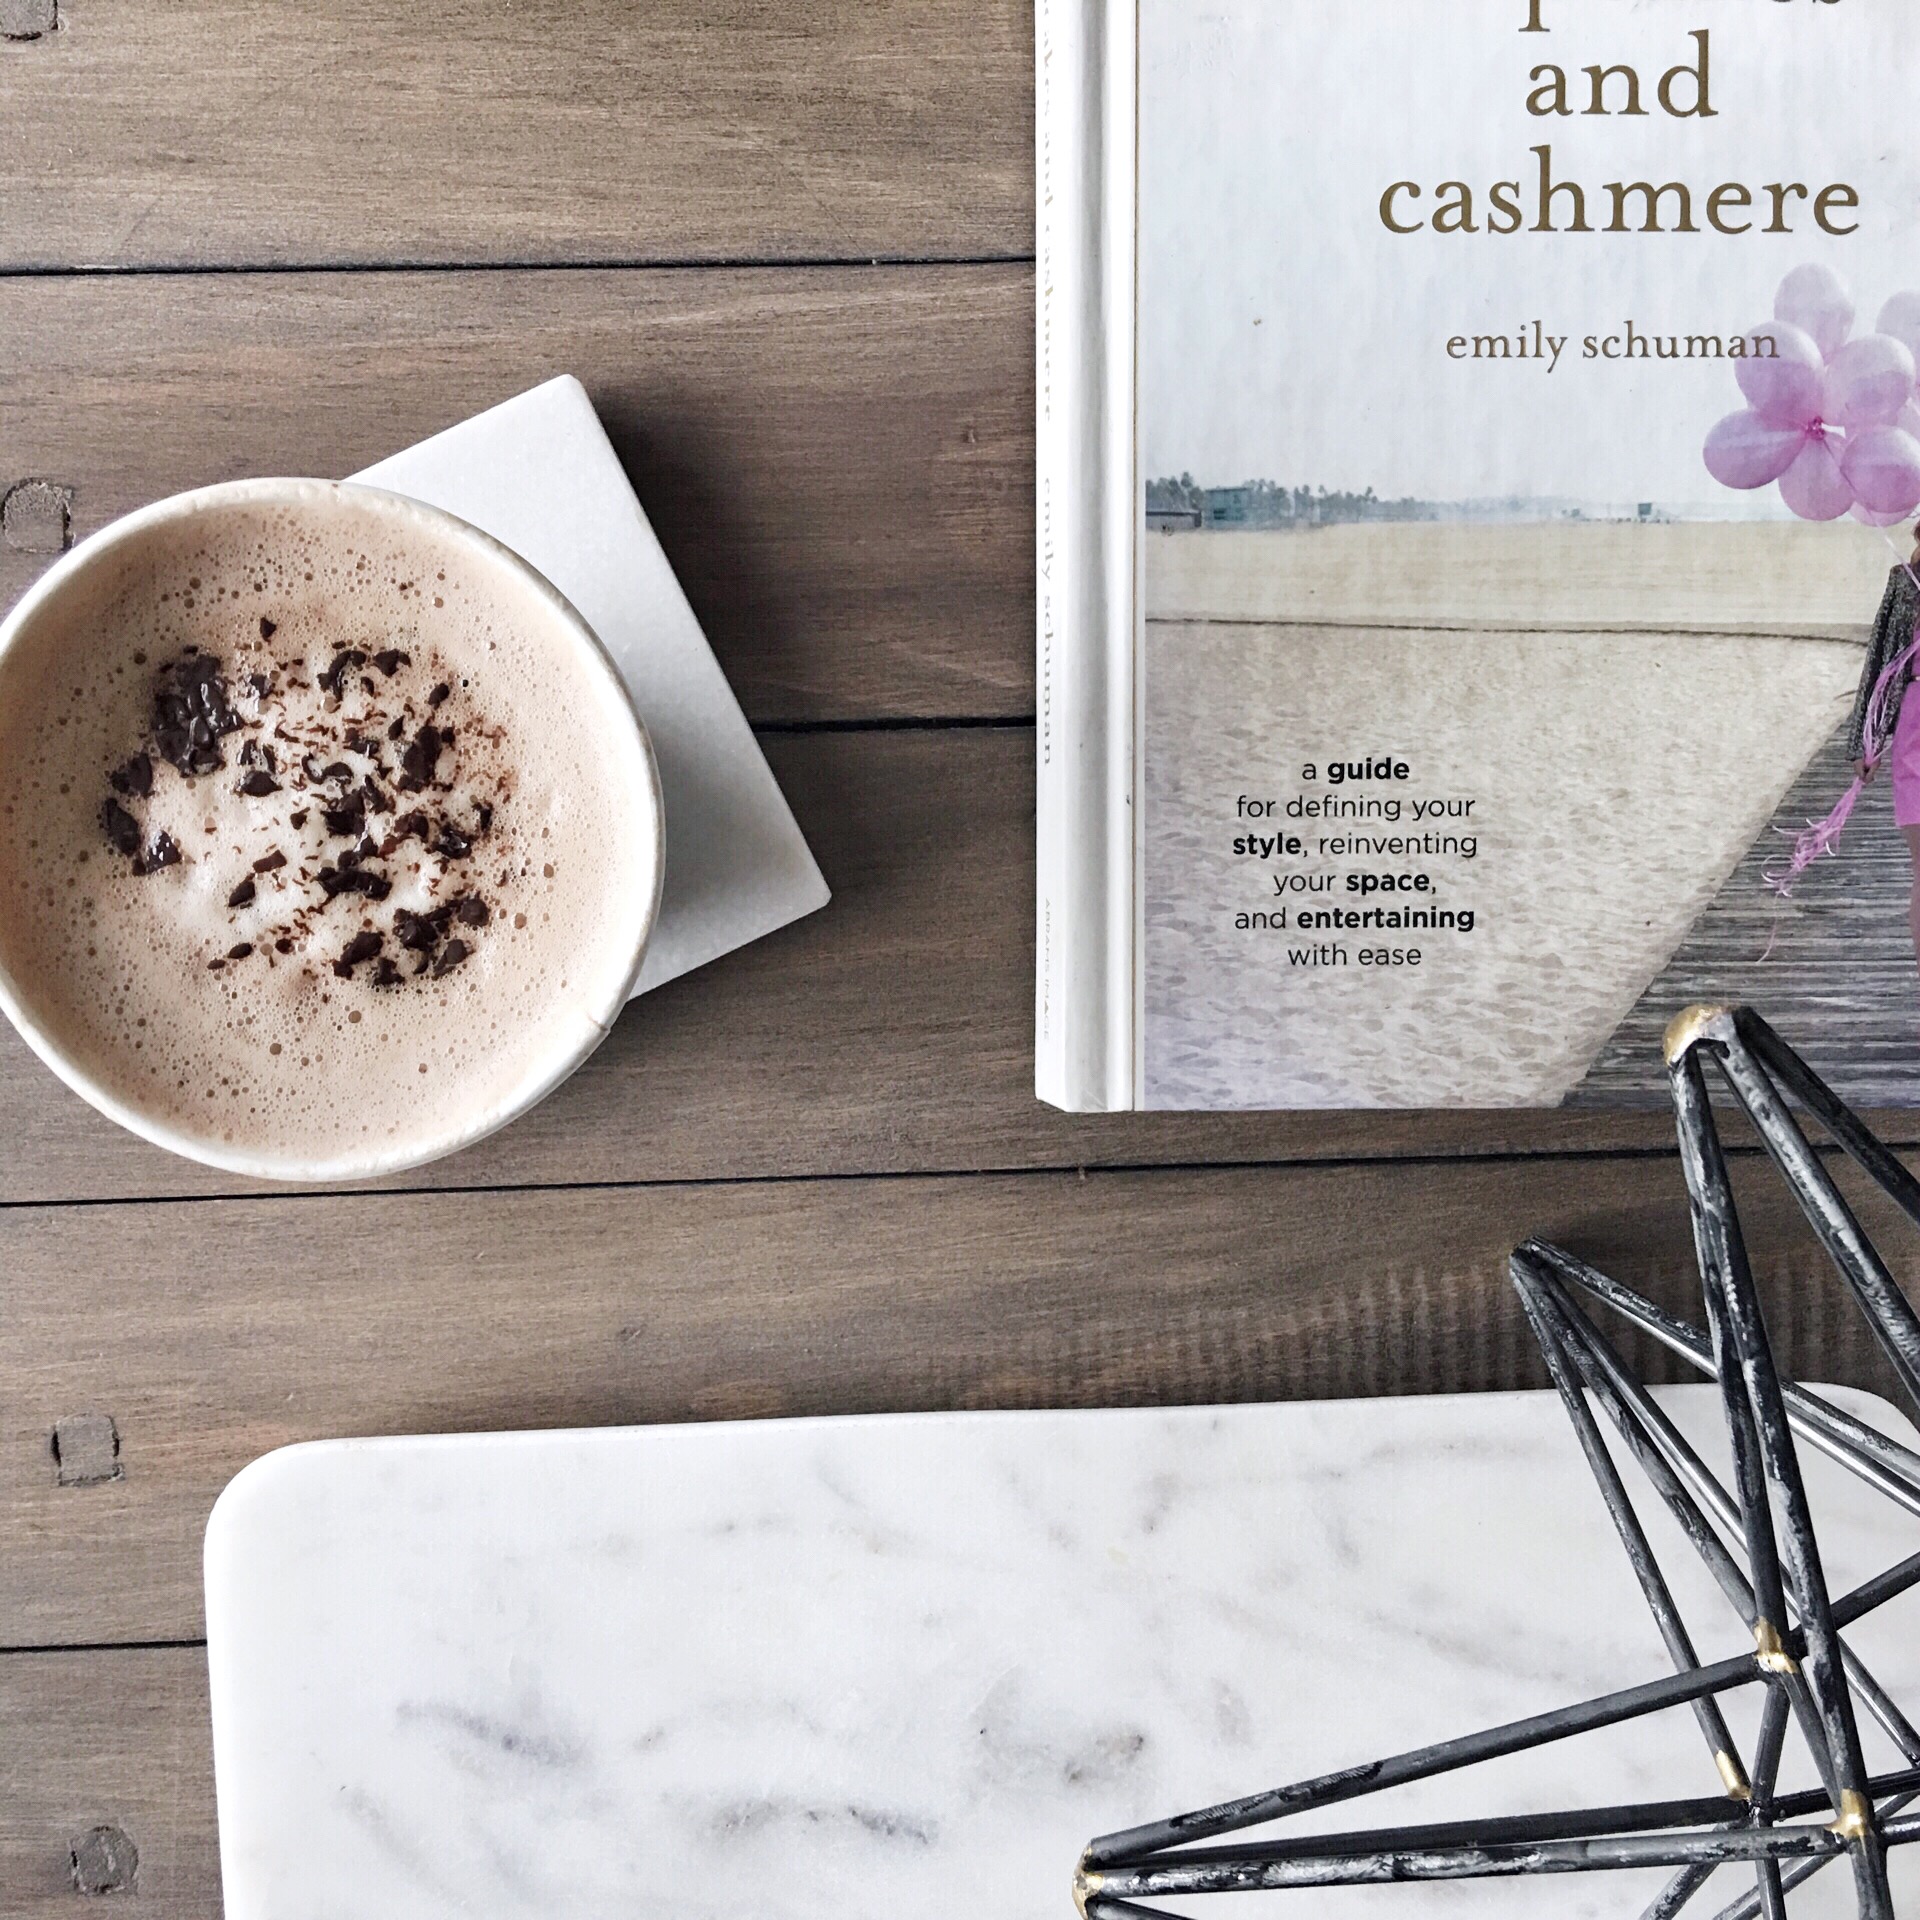
2.) START WITH A CLEAN BACKGROUND
With this, I mean use a cohesive background and build on top of that. Whether it’s a fur blanket or all white kitchen counter, make sure it’s clean and cohesive, then add on top with products, maybe a cutting board for food pics, maybe some blanket on blanket action to keep things interesting. I love overlapping things. IT’S ALL UP TO YOU.
3.) GET MESSY
This is especially important for food flat lays. Tip over that cinnamon. Spill those chocolate chips and coconut flakes. Drizzle that peanut butter. YOU CAN ALWAYS CLEAN IT UP. Once you’re done creating your masterpiece recipe, position it in the corner of your photo frame and then spill the ingredients in the middle/other corners of the frame.
4.) GET READY FOR THAT CLOSE UP
Don’t be afraid of zooming in. Take a million photos from far out and then get super close. Even your iPhone is more than capable of doing this. Some of my best shots are up close of 2 or 3 products.
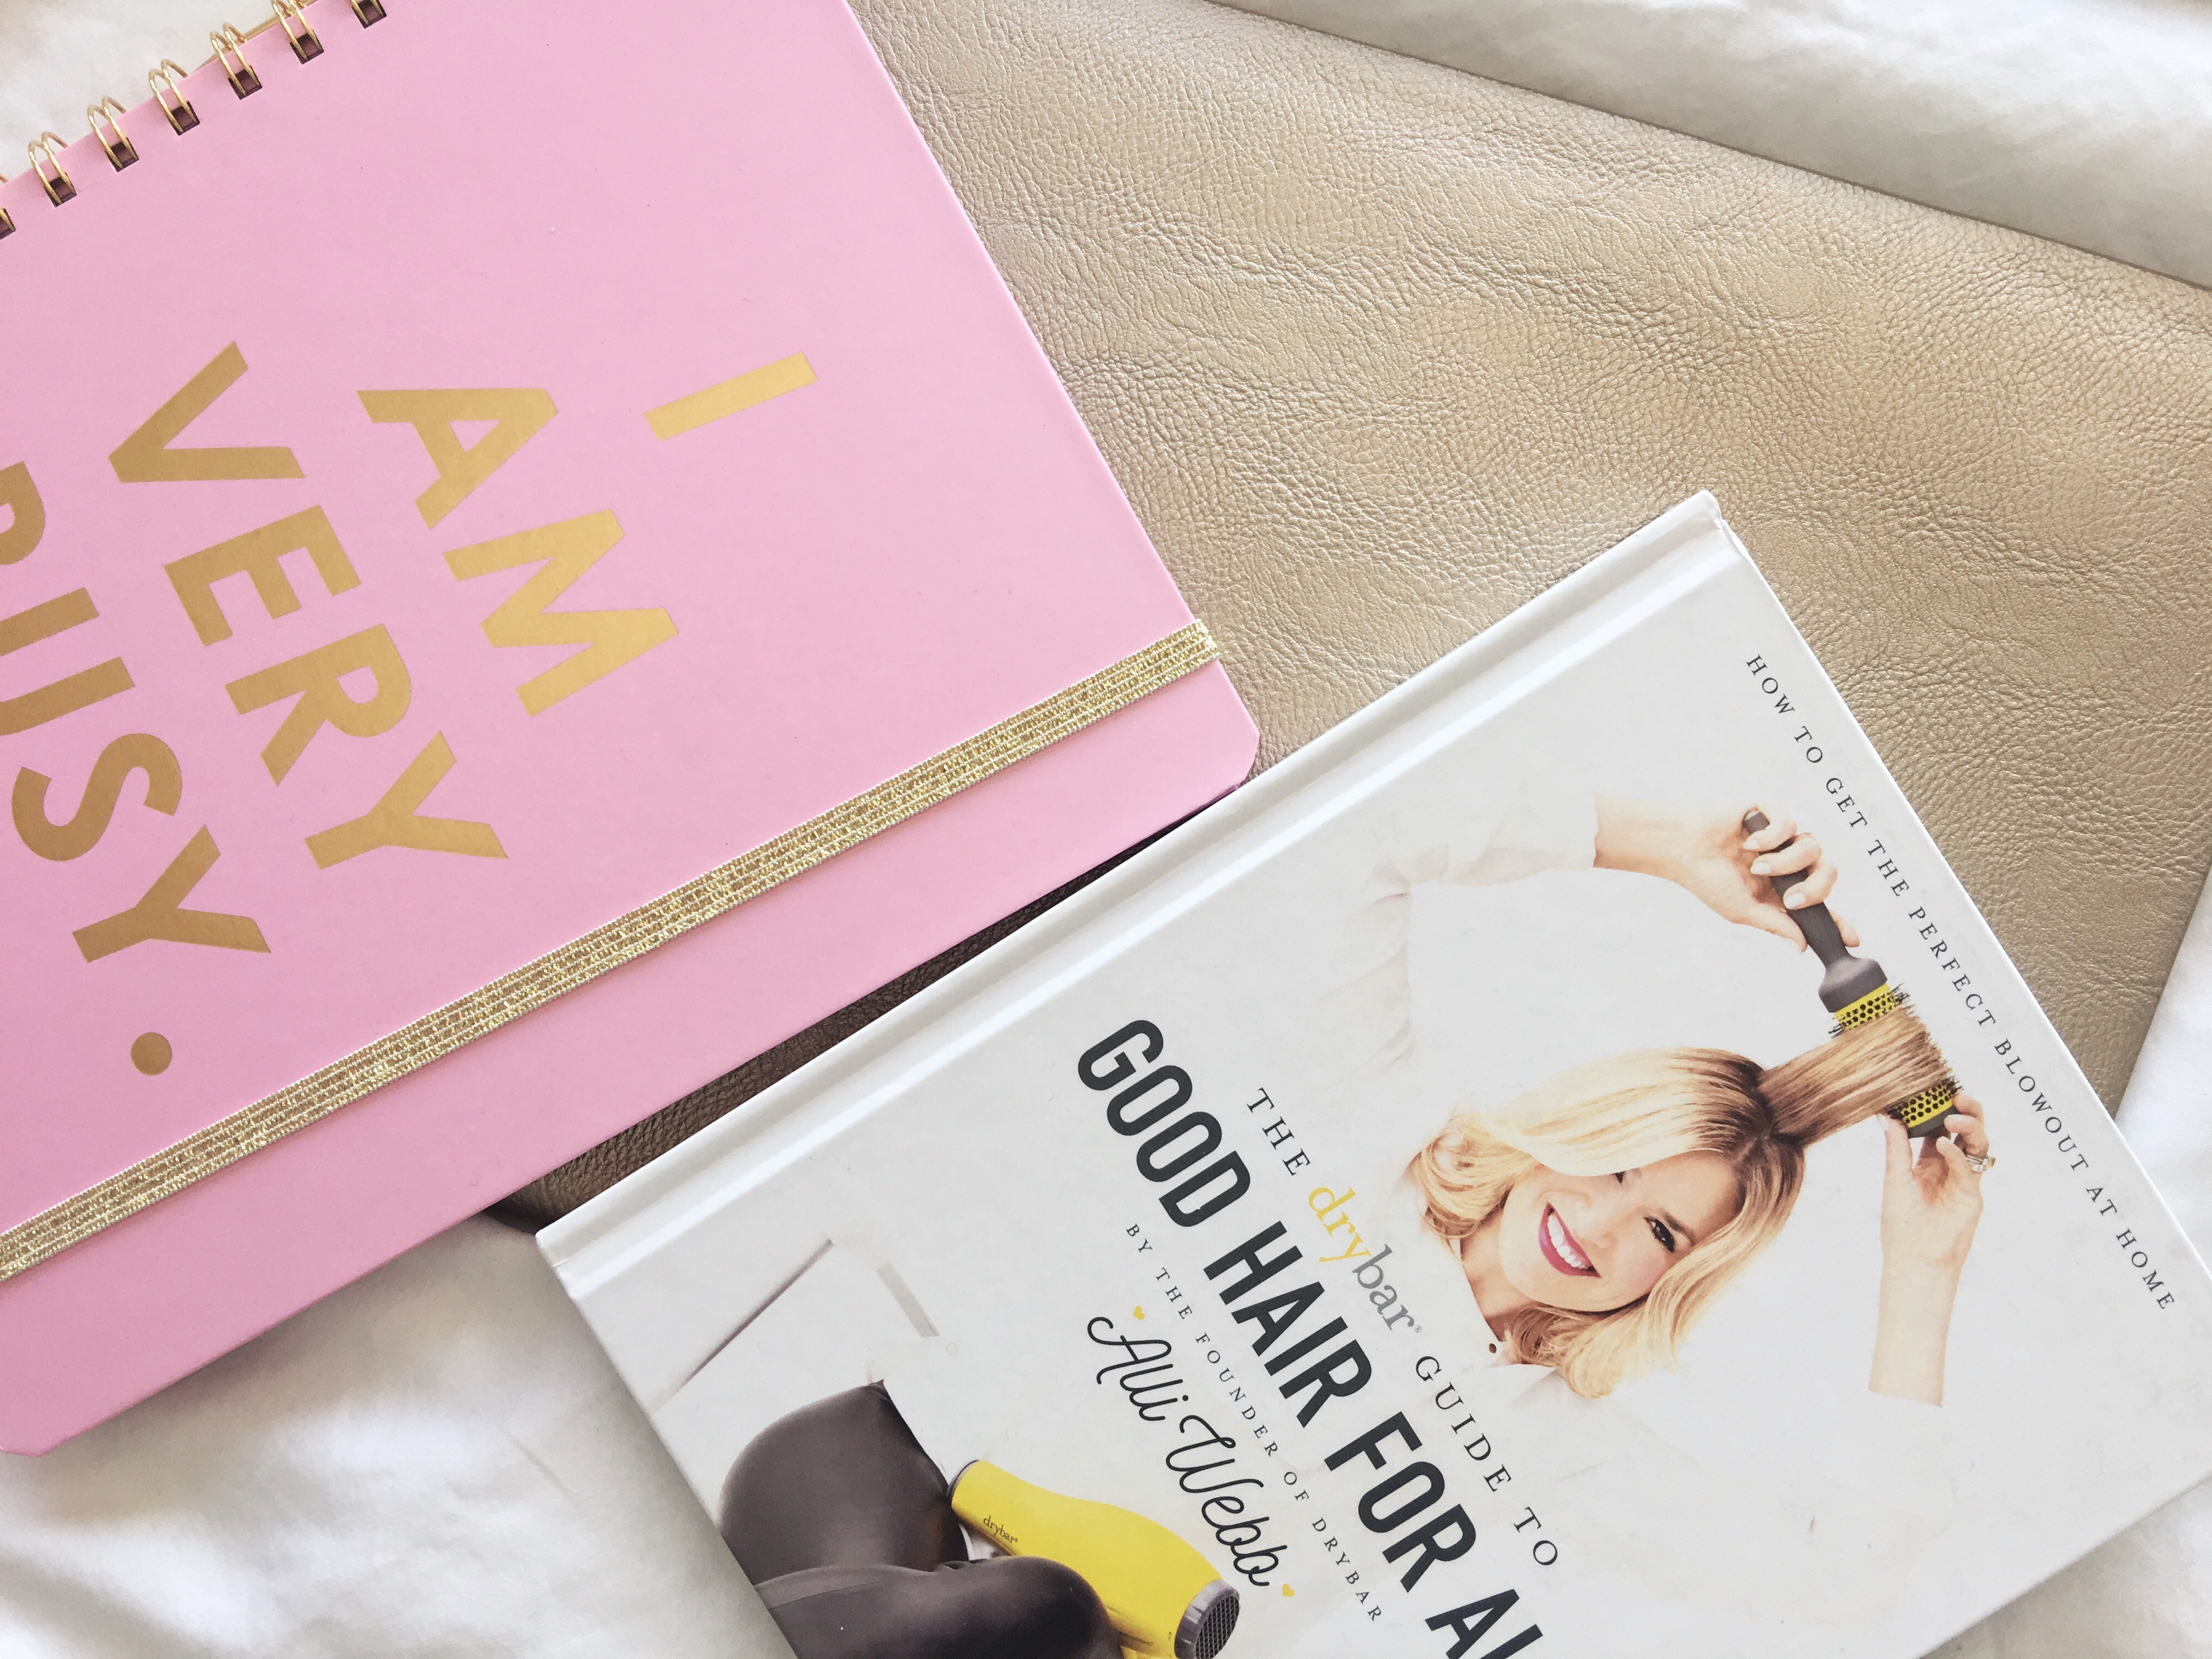
5.) USE SIMILAR COLOURS
Don’t try to mix brown, blue and yellow. Unless those are your chosen Instagram theme colours… however, I suggest using a similar theme in a flat lay. Black and white or pretty delicate pastels? Maybe neutrals and gold? So many options. But try to make it flow.
6.) DROP IT LIKE IT’S HOT
I drop things. On purpose. I’ll ball up earrings and rings in my hands and drop them on my flat lay and start snapping. Try it. PS don’t drop expensive, breakable things please. OH and PRO TIP: Use glue dots on the back of bottle to prevent them from rolling around. You can get them like anywhere… staples, dollorama, superstore etc.
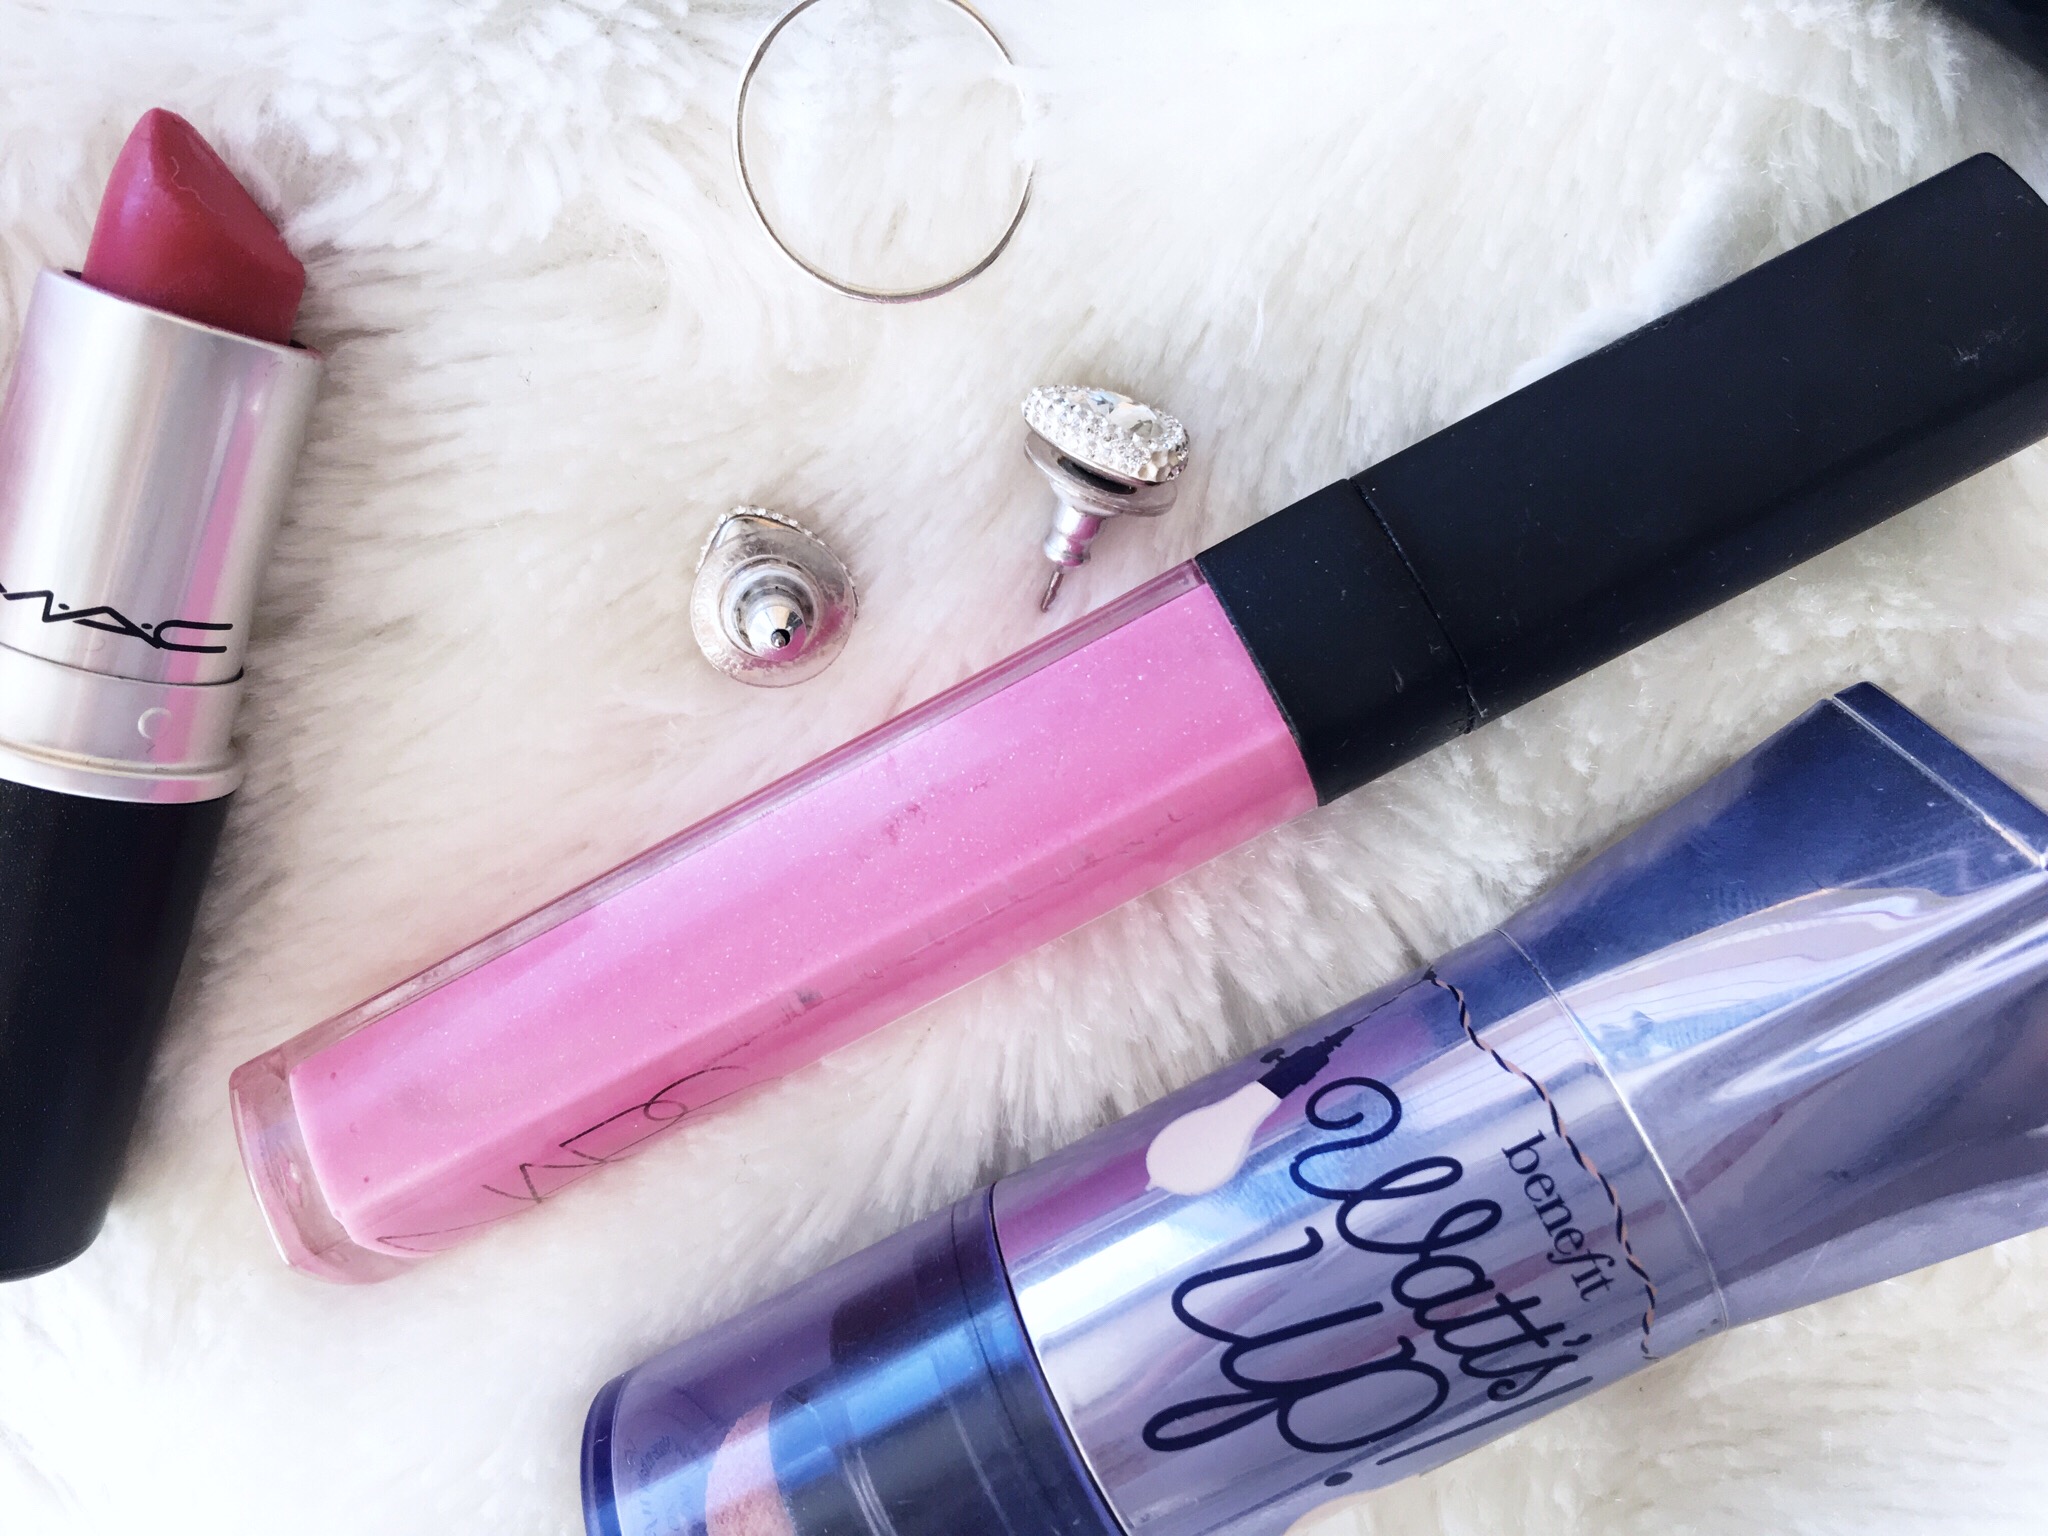
7.) ADD JEWELS
Rings, bracelets, earrings, sparkly necklaces. I don’t know why but it add such dimension to flat lays. It’s interesting and eye catching. Try it next time.
That’s it that’s all. Now get playing around! I can’t wait to see all of your fab flat lays on IG. Use the hashtag #dreaflatlay and I’ll be sure to look at it!
xxoo Drea Marie